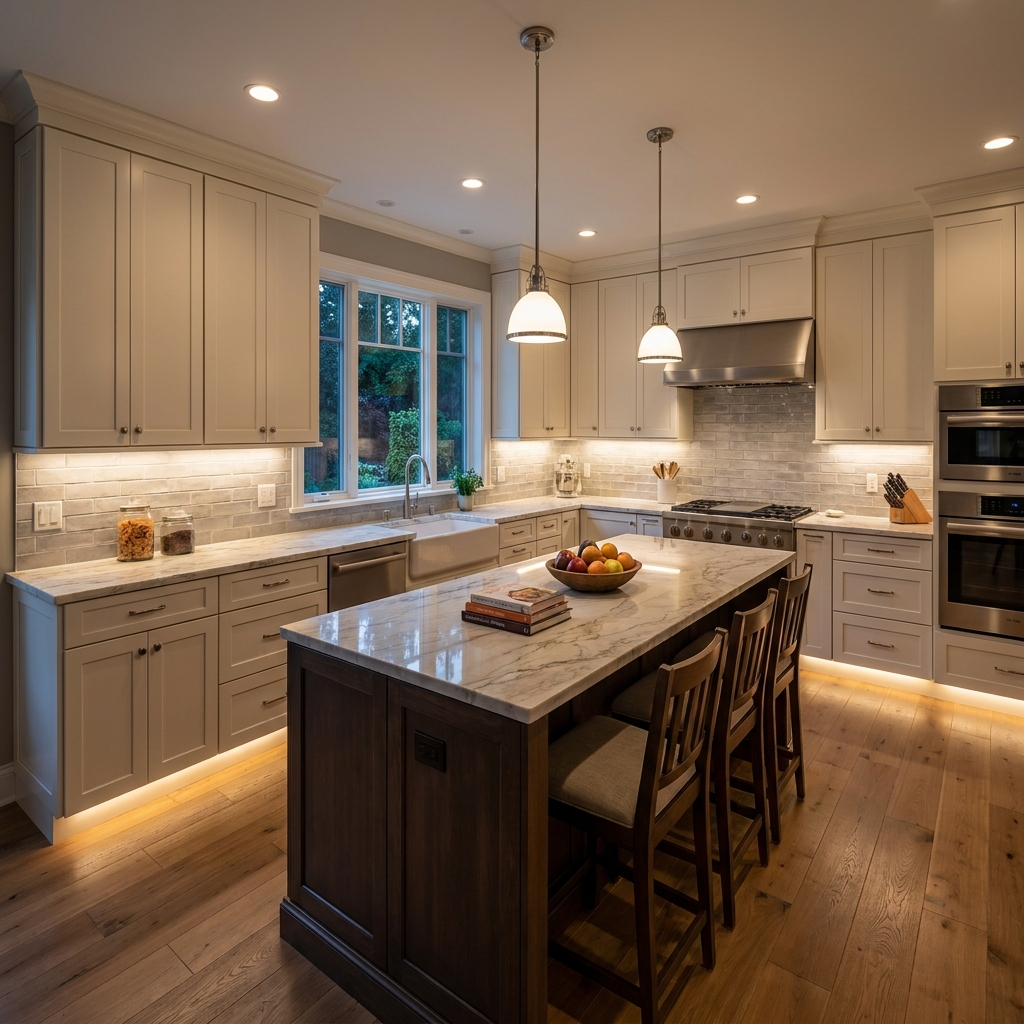
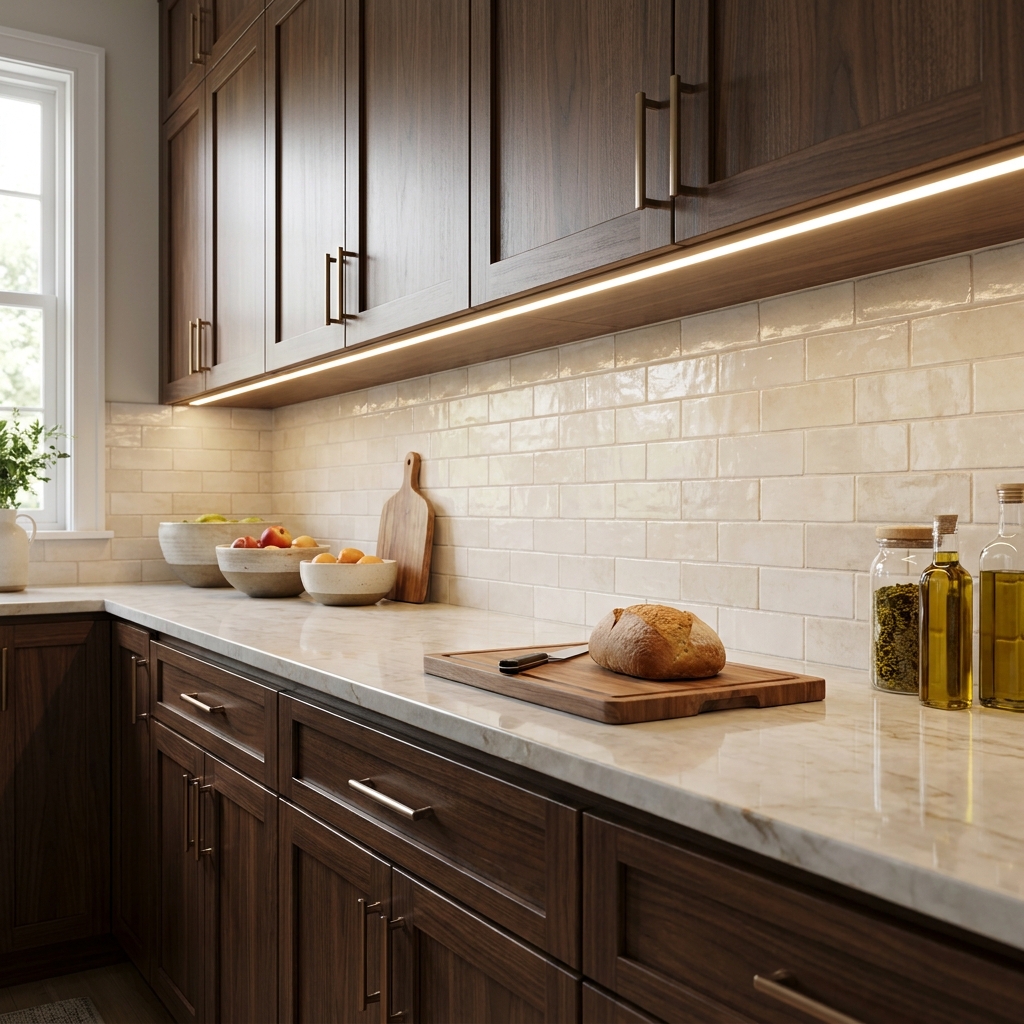
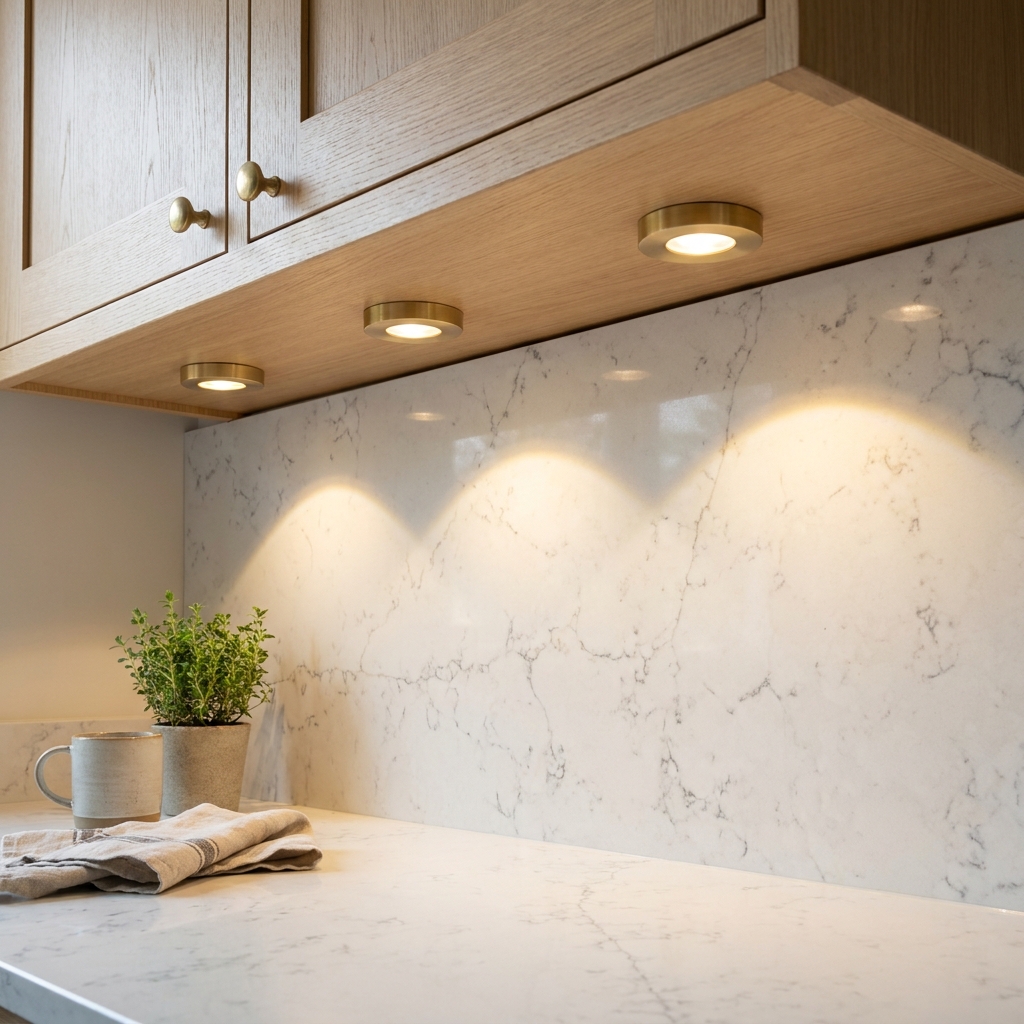
For kitchen counters, continuous LED tape beats puck lights in almost every case. Pucks throw cones of light that land on the counter as a row of bright scallops with dim gaps between them; tape lays down an even line across the whole run. Aim for 200 to 400 lumens per linear foot over a light counter and closer to 400 to 700 over dark stone, at 2700K to 3000K, with a CRI of 90 or better so food and finishes read as their real colors. Mount the tape 1 to 2 inches behind the front edge of the upper cabinet, not against the wall, so your own body does not shadow the work surface. Run it inside an aluminum channel with a frosted diffuser, use a 24-volt system, and put it on its own dimmer. Those six decisions account for nearly all the difference between under-cabinet lighting that looks built in and under-cabinet lighting that looks stuck on.
Tape or pucks
The two behave differently enough that the choice is really about what you are lighting.
| LED tape | Puck lights | |
|---|---|---|
| Light pattern | Continuous even line | Overlapping pools with gaps |
| Best for | Counter runs and prep zones | Glass cabinets, single shelves, display niches |
| Install | Channel routed or surface-mounted to the cabinet bottom | Surface-mounted or recessed into the cabinet bottom |
| Visible hardware | A thin channel, easily hidden by a light rail | Round housings visible from a seated position |
| Weak point | Needs a driver and a channel to look right | Scalloping and glare on glossy surfaces |
Pucks are not obsolete. Inside a glass-front cabinet, a single puck at the top of the box lights the shelves from above the way a display case does, and tape in that position would show its own line of light through the glass. In a display niche or over one short section of open shelving, a puck is the simpler answer. On a working counter it is the wrong tool.
Placement: forward, not back
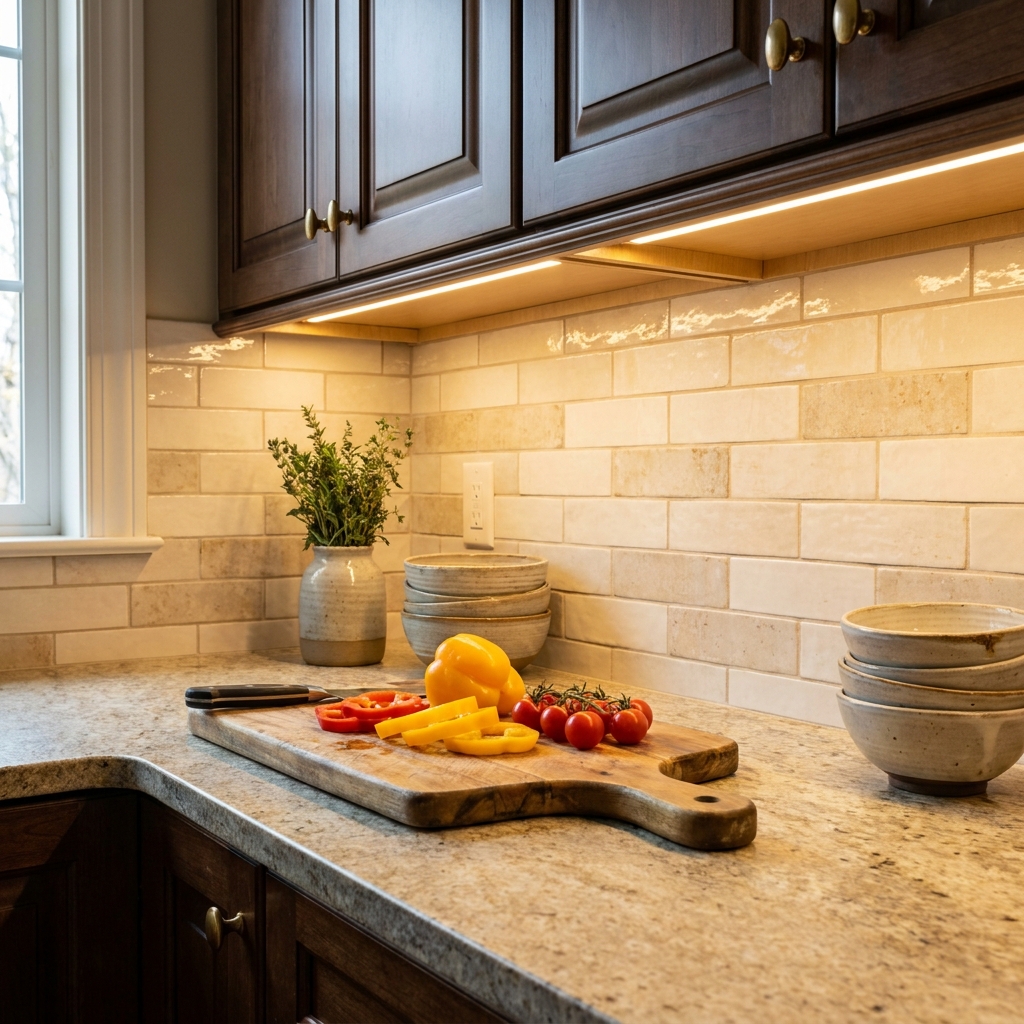
This is the mistake that shows up in most kitchens we walk into around North Atlanta. The light is screwed to the back of the cabinet bottom, tight against the wall, where it does two unhelpful things at once: it washes the backsplash brightly, and it puts the counter itself in your own shadow while you stand at it.
Move the fixture forward to within 1 to 2 inches of the cabinet’s front edge. The light then falls on the front half of the counter, which is where you actually chop, and your body no longer blocks it. The backsplash still gets plenty of spill.
Forward placement has a second effect worth planning for. It aims light at a steeper angle across a polished counter, and a polished counter reflects. On a high-gloss quartz or a polished granite, poorly diffused LEDs show up as a row of bright dots mirrored in the stone. If the counter is a polished quartz or granite rather than a honed or leathered finish, the diffuser stops being optional. The same applies to a glossy backsplash: a run of glazed zellige will bounce light around beautifully or throw glare, depending entirely on how the source is shielded.
Color temperature and color rendering
Two numbers on the box matter, and most people only look at one.
Kelvin is the warmth. Use 2700K to 3000K in a kitchen. At 2700K the light is close to the incandescent warmth people associate with a comfortable room; 3000K reads slightly crisper and holds up better with cool-toned white cabinetry and gray stone. Above 3500K a kitchen starts to feel like a commercial space, and the mismatch is obvious the moment it sits next to warmer recessed cans. Whatever you choose, match it to the rest of the kitchen’s fixtures. Two color temperatures in one room is the most common lighting error, and once you have seen it you cannot stop seeing it.
CRI is how honestly the light renders color, on a scale to 100. Cheap tape often sits around 80, where reds go muddy and food looks unappetizing. Specify 90 or better. This is the number that separates a counter where raw chicken looks gray from one where it looks pink, and it is worth insisting on even though nobody notices it consciously.
The channel is what makes it look finished
Bare tape stuck to the underside of a cabinet is the single clearest tell of a DIY installation. Individual diodes read as a row of dots, the adhesive eventually lets go in a warm kitchen, and the tape itself is visible from anywhere in the room.
An aluminum channel fixes all three problems. The tape sits in the extrusion, a frosted lens snaps over it, and the dots blend into one continuous line. The aluminum also acts as a heat sink, which is a real factor in how long the diodes hold their color.
Where the channel goes depends on the cabinets. Frameless cabinets with a flat bottom usually take a surface-mounted channel, hidden by a light rail: a thin strip of matching cabinet molding applied to the bottom front edge, which conceals the fixture from anyone standing across the room. Cabinets with a recessed bottom panel can hide the channel with no rail at all. Best of all is a channel routed into the cabinet bottom during fabrication so the lens sits flush, which is a decision that has to happen at the cabinet shop rather than on site.
Power, dimming, and the switch
Under-cabinet tape runs on low voltage, which means a driver converts line voltage down and feeds the strip. Choose 24-volt over 12-volt. At the same output, a 24-volt system draws less current and suffers proportionally less voltage drop, so the far end of a long run does not fade or shift color. On 12 volts, a run past a few feet can visibly dim toward the end.
Dimming is where most installations fail, and the failure is almost always a mismatch. The dimmer, the driver, and the tape have to be specified as a set. An LED-rated dimmer paired with a driver labeled dimmable and matched to that dimmer’s type gives smooth, flicker-free control. A standard incandescent dimmer on an LED driver gives you buzz, flicker at the low end, or a light that drops out entirely below half. If the kitchen already has smart or scene-based controls, the driver needs to be chosen to work with them.
Two more decisions belong in the design phase, not on installation day. First, hardwired versus plug-in: hardwired is the clean answer, with no cord and no outlet inside the cabinet, and it needs the wiring pulled before the drywall closes. Second, the switch location. Under-cabinet lights should be on their own switch, separate from the ceiling cans, because half the point is being able to run just the counters at low output at night. Deciding this early is another instance of the pattern behind what actually drives a kitchen remodel’s price: rough-in decisions are cheap, and the same change after drywall is not.
Where else it earns its place
The same tape, channel, and driver solve several other problems in a kitchen once the system is there.
- Inside a coffee station or appliance niche. A short run on its own switch makes the station usable at 5:30 a.m. without lighting the room, which is worth planning alongside the rest of the coffee bar’s rough-in.
- Inside glass-front uppers. Vertical tape in the cabinet’s front corners, or a puck at the top, turns display cabinets into something worth displaying after dark.
- Under a floating shelf. A channel routed into the underside of the shelf lights the counter below and makes the shelf read as thinner than it is.
- In the toe kick. Set to a very low level, it works as a night light for the kitchen. Keep it dim; at full output it lights the floor like a runway.
Frequently asked questions
Where should under-cabinet lights be mounted?
One to two inches behind the front edge of the upper cabinet, not at the back against the wall. A fixture mounted at the back lights the backsplash and leaves the counter in your own shadow while you stand at it. Moving it forward puts light on the front half of the counter, where you actually work, and the backsplash still receives plenty of spill. The trade is that a forward fixture aims more light across a polished counter, so a diffuser becomes necessary to prevent visible reflected dots.
What color temperature is best for under-cabinet lighting?
Between 2700K and 3000K for a kitchen. 2700K reads as warm and residential, close to incandescent; 3000K is slightly crisper and pairs well with cool-toned cabinetry and gray stone. Above 3500K the room starts to feel commercial. Just as important, match the under-cabinet temperature to the recessed lights and pendants in the same room, because two color temperatures side by side is the most visible lighting error in a kitchen. Also specify a CRI of 90 or higher so colors render accurately.
Are LED strips or puck lights better under cabinets?
For counter runs, tape. Pucks cast overlapping cones that land as bright scallops with dim gaps between them, while tape gives an even line across the whole run. Pucks still make sense in specific spots: inside a glass-front cabinet, where a single puck at the top lights the shelves like a display case, or over a short section of open shelving or a display niche. On a working prep counter the scalloped pattern is obvious, and on glossy stone the point sources create more glare.
Why do under-cabinet LEDs flicker or buzz when dimmed?
Almost always a mismatch between the dimmer and the driver. Low-voltage LED tape needs a driver labeled dimmable, paired with an LED-rated dimmer of the matching type. A standard incandescent dimmer on an LED driver produces buzz, flicker at the low end, or lights that cut out below half output. The fix is to specify the dimmer, driver, and tape together as one system rather than buying them separately, and to confirm compatibility before anything is installed behind drywall.
Planning lighting as part of a kitchen project in Alpharetta, Milton, or the surrounding area? Book a design consultation and we will lay out the fixtures, channels, and switching before the walls close, or call 404-640-2361.